Glues & Liquids
Eyelash Extensions
ACCESSORIES
INLEI®
So Henna
EYEBROWS
ONLINE TRAINING
Save up to 70% Off
Tips on Isolating Eyelashes for a Lash Extension Procedure
November 23, 2023 4 min read

How to Isolate Eyelashes Like a Pro
To create the perfect eyelash extensions set you need a steady hand, an eye for detail and the patience to ensure precision placement. It goes without saying that placing lash extensions – whether that is classic single lash extensions, or fluffy volume fans – is one of the most important techniques a Lash Technician should learn. No one wants a haphazard lash line, and more importantly, no one wants stickies. Stickies ultimately result in premature lash shedding, client discomfort, unhealthy natural eyelashes and damaged lash follicles. So, what can you do to improve your lash placement? Let’s discuss some tips on good isolation, so you too can place your extensions with the utmost precision and avoid any lash damage.

Why Is Isolating Important?
First things first, why is lash isolation so crucial? Well, it's not just about doing things the right way aesthetically speaking, it's about safeguarding the client’s natural lashes too. When you skip correct isolation, you're setting the stage for those previously mentioned "stickies'' to make an appearance. A stickie is a lash industry term which refers to two or more lashes being stuck together, you can read more about them in this dedicated blog post. These stickies can cause strain on the hair follicles, leading to lashes being pulled out prematurely and discomfort for your clients as their natural lashes grow and tug at each other. If stickies are left unchecked and unseparated, you run the risk of permanently damaging the lashes right from the bulb, weakening the hairs and causing them to grow back weaker and finer than ever before, if they even grow back at all.

Additionally, becoming a pro at isolation also means your lash extensions will have a uniform, natural appearance. When you isolate correctly, those extensions can naturally shed in harmony with the natural lash growth cycle. Isolating the lashes also means that you can apply each extension at the perfect distance from the eyelid, which in turn will result in a neater top line and you will have an easier time getting through the layers so you can achieve better coverage when lashing.
Isolating With Tweezers
As we mentioned, good isolation and proper placement require a steady hand. After all, you are using tools close to someone’s eyes – not only do you want a seamless outcome, but you want to keep your clients safe too. At London Lash we spend a lot of time rigorously testing our products to ensure they will serve you for a long time. As a company created ‘by Lash Techs, for Lash Techs’, all of our tools such as our Isolation Tweezers go through many stages of quality control, including hand testing before they are approved by our Master Lash Artists.
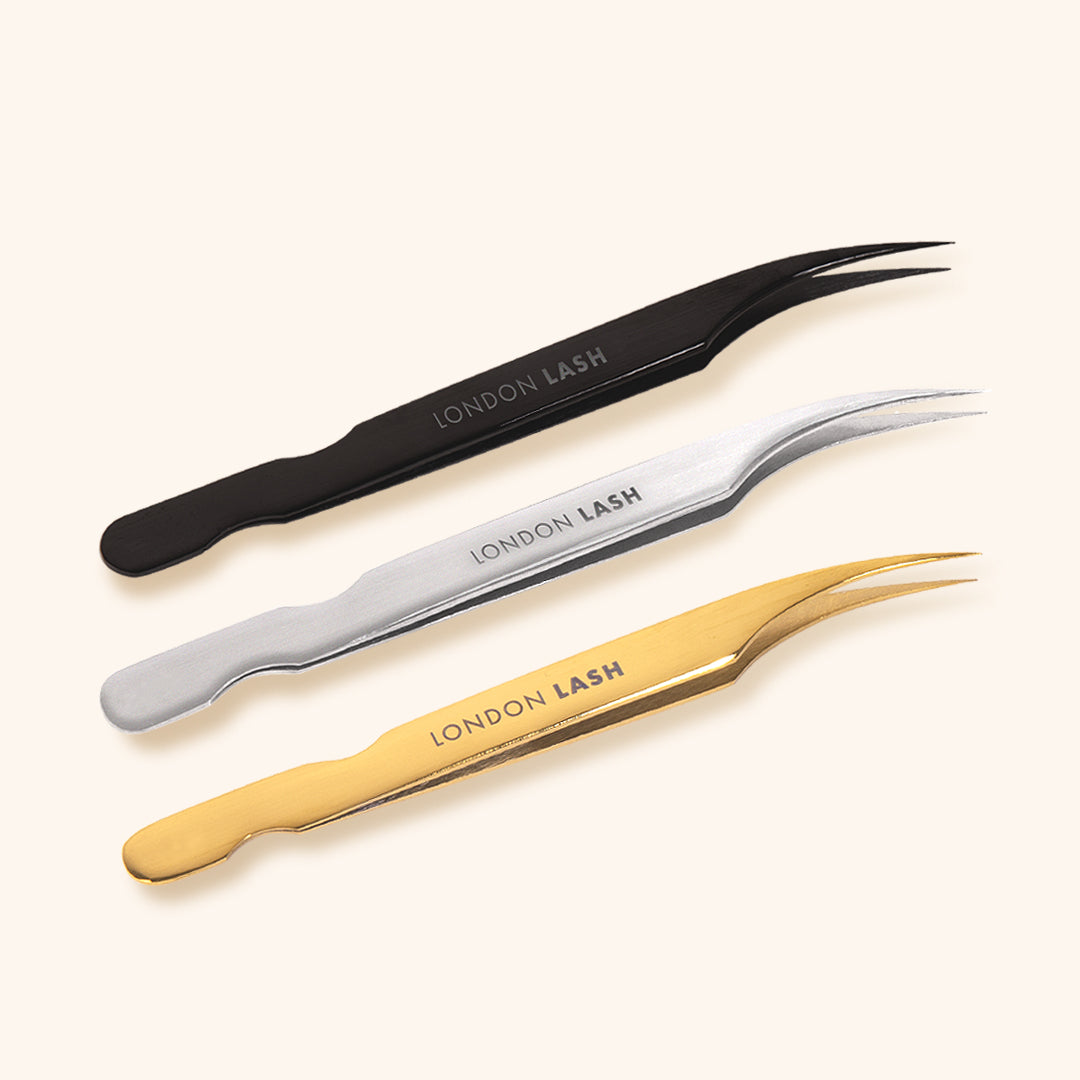
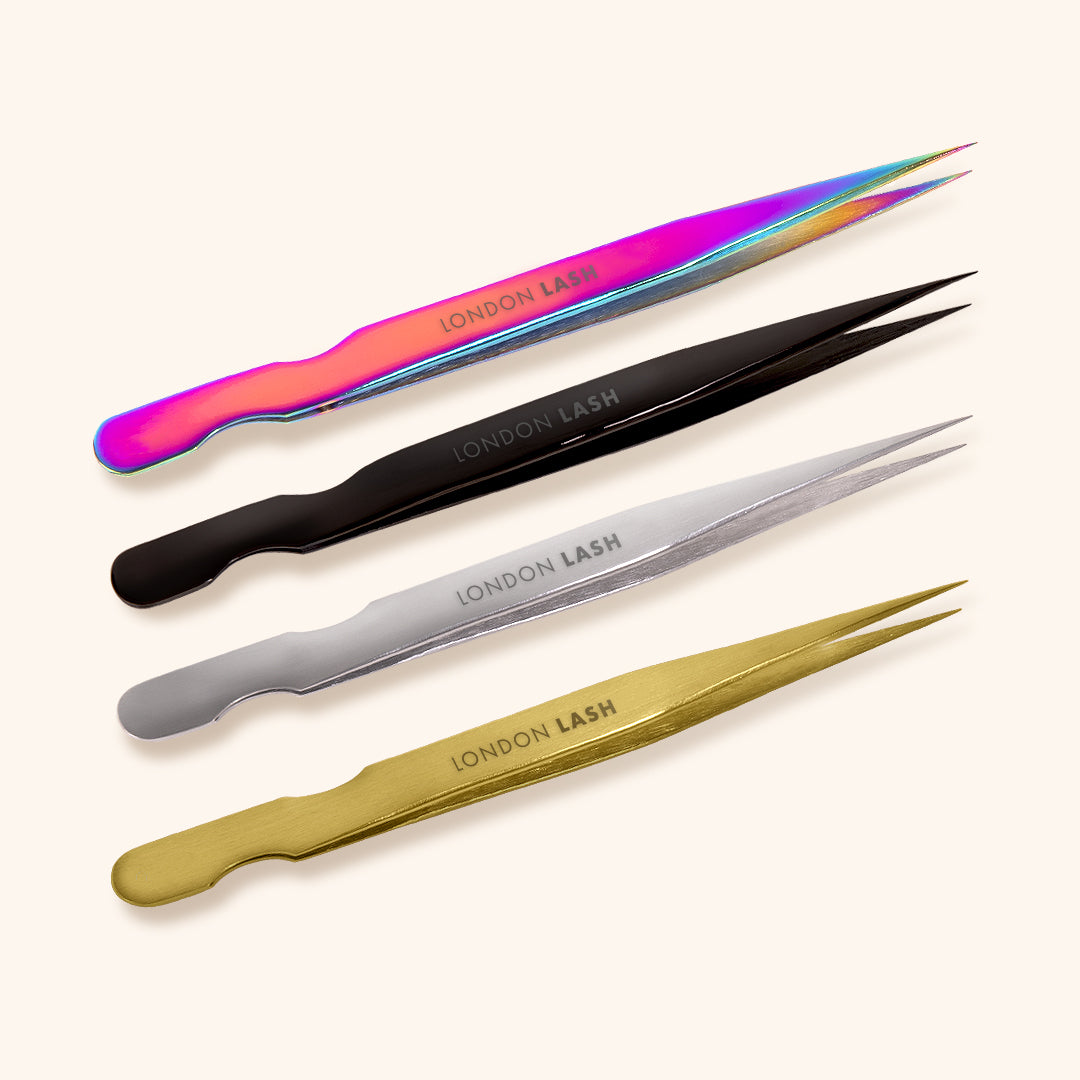
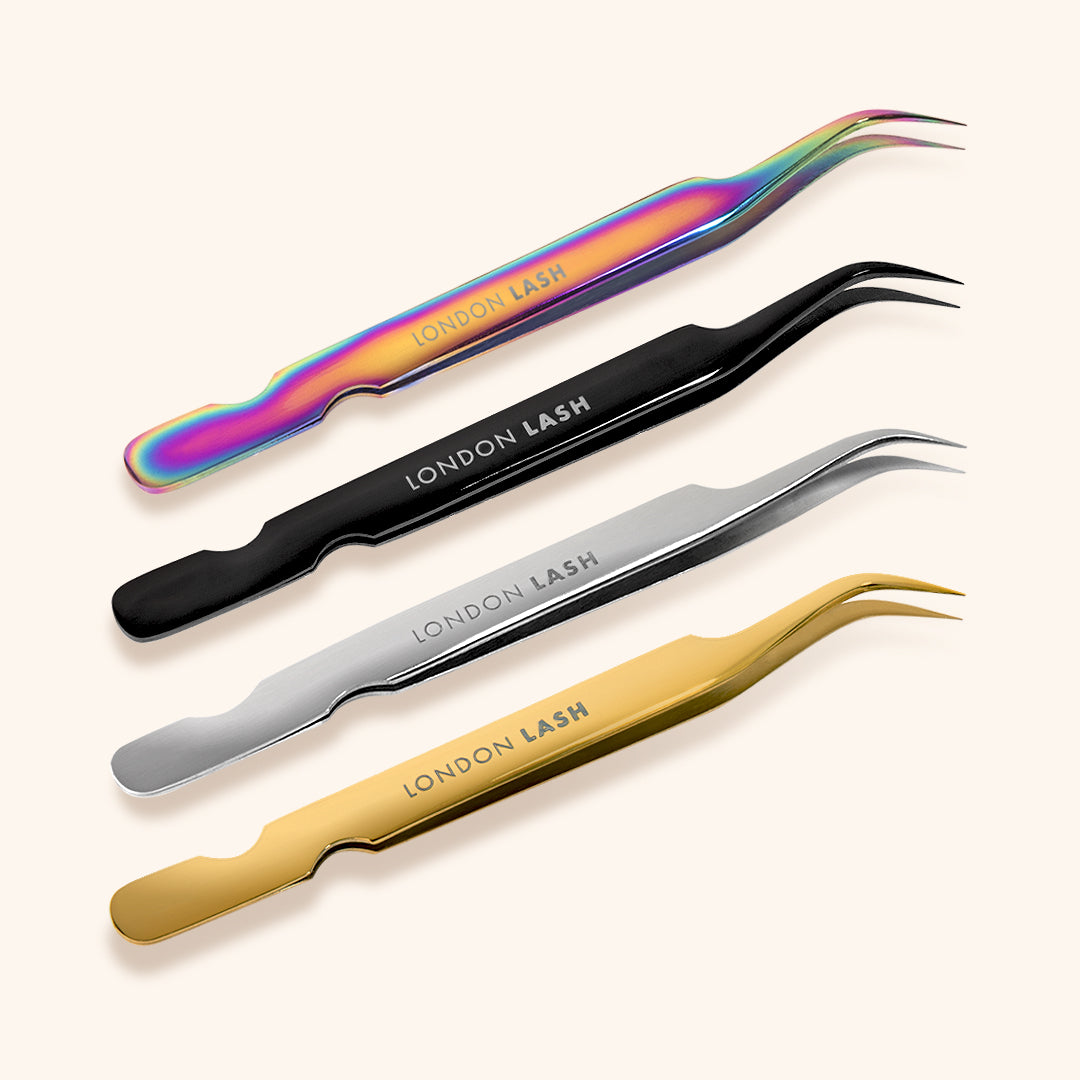
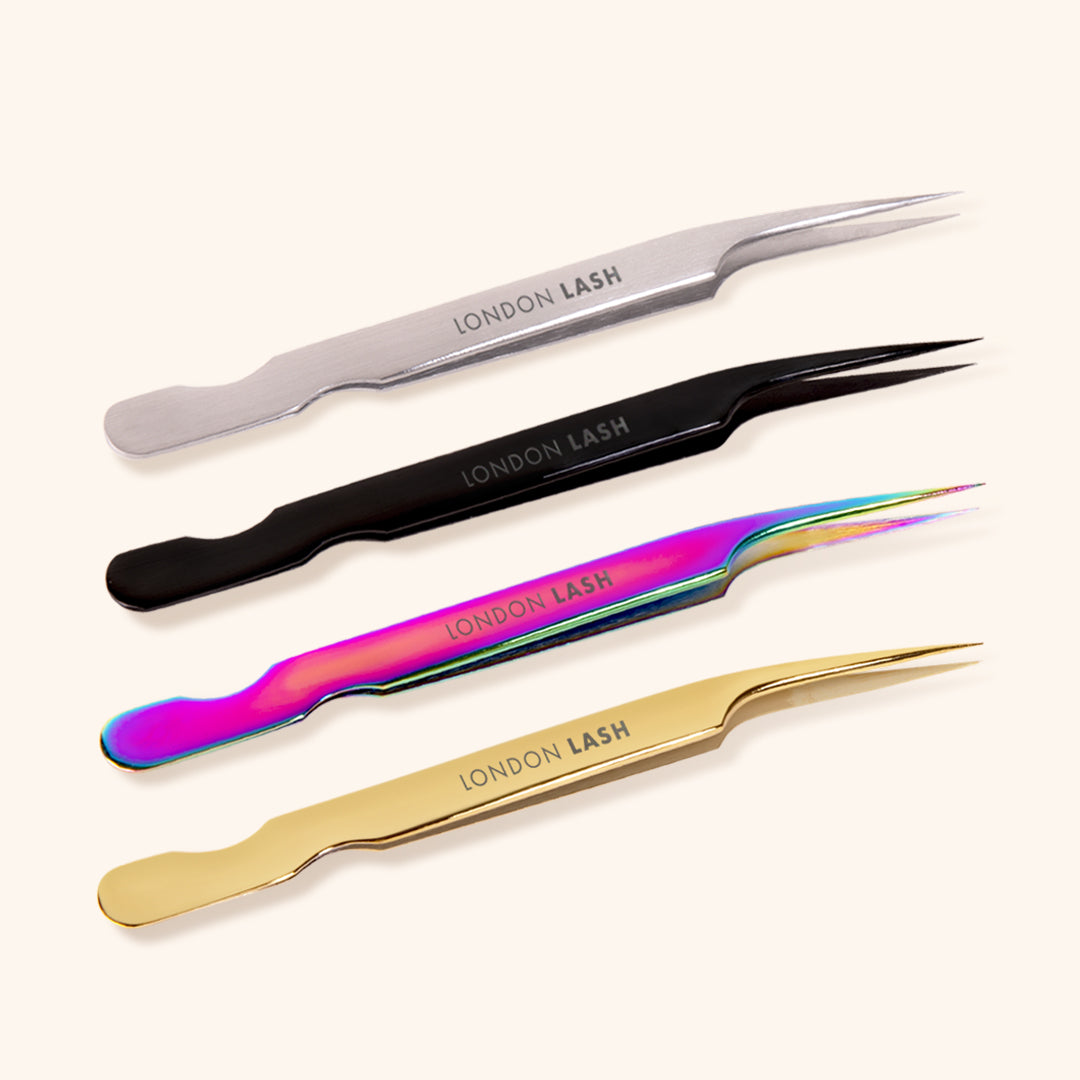
A good pair of Isolation Tweezers will give you the precision and comfort to isolate like a pro in almost no time. Having a sturdy grip and fine tips, these comfortable tweezers will ensure that they feel like your second pair of hands. We have multiple designs of Isolation Tweezers, including Angled, Pointed, Straight, Multifunctional and Curved, so you can find which works best for you. Don’t feel like you need to use only one shape for your entire career – feel free to change it up, explore how different shapes and styles work for you, and find new ways of making your day-to-day lashing easier.

When it comes to isolation, we recommend a steady process, don’t rush, here are some Quickfire Isolation Tips:
- Don’t drink excess amounts of caffeine, you don’t want to start shaking due to a sudden rush, take your time and consume in moderation.
- As clients have different density, thickness and curl to their lashes, it can be daunting to know if you’re performing the correct technique time after time, keep educating yourself, if you must, practise on a Mannequin Head regularly to develop those perfect skills.
- No Lash Pro can have a keen eye for detail without professional beauty lighting, this is why we always recommend Glamcor beauty lights which will shine bright upon the area you’re working on, leaving no lash bare and unseen.
Isolating With Tape
Now, it’s important that you don’t confuse this tip as the sole way of isolating lashes – you of course need to use your trusty pair of tweezers to isolate each and every time. But, if your client has very dense natural lashes, so much so that you struggle with complete coverage, or if you find yourself a little short for time, this is where Tape is your handy isolation tool.
Using Micropore Tape can be a time saver in tricky situations, if you’re working in layers and you want to isolate the client’s lashes so that you can be precise, especially when using different lengths (or even colours) of extensions on each layer, you can simply tape back the client’s lashes and with your isolation tweezers of choice begin to pull through the lashes layer by layer.
Alternatively, to save some time during a lash fill, use some tape to gently lift back the lashes which already have extensions and the unlashed natural lashes will be easy to see and apply new extensions to.

Things To Remember
Isolation should not be rushed as precision is paramount. Make sure you have a perfectly clean lash line to work on before isolation, following a thorough Pretreatment routine will ensure you’re not isolating and finding sections with makeup, sebum or any debris caught up in the eyelashes. Your tools are your second pair of hands, investing in high quality Tweezers will ensure not only precision but comfort and longevity with the reassurance that your tools will last a long time.
Check out these featured products
Subscribe
Sign up to get the latest on sales, new releases and more …


