Eye Patches 101
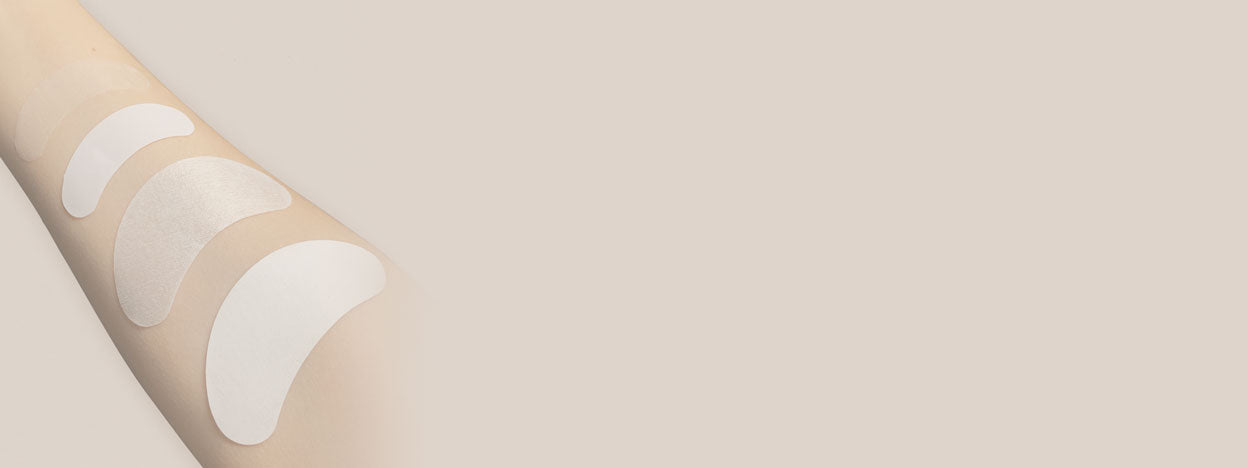

Table of Contents
A Discussion on Eyepatches for Lash Extensions
You can be forgiven for thinking that choosing eye patches is as simple as picking the first box you see—after all, how technical can you get about such a small thing? As it happens, picking the perfect eyepatches for your client can be the difference between creating one smooth set after another and becoming so frustrated that you want to throw your tweezers away and give up lashing for good!
To help you get to grips with everything related to eyepatches, we have put together the ultimate guide—in short, we did the hard work so you don’t have to.
Picking the Right Eye Patches
As you know, we stock several different types of eyepatches—but you may have wondered why. Put simply, each type of eye patch has subtle differences that make it more or less suitable for individual clients.
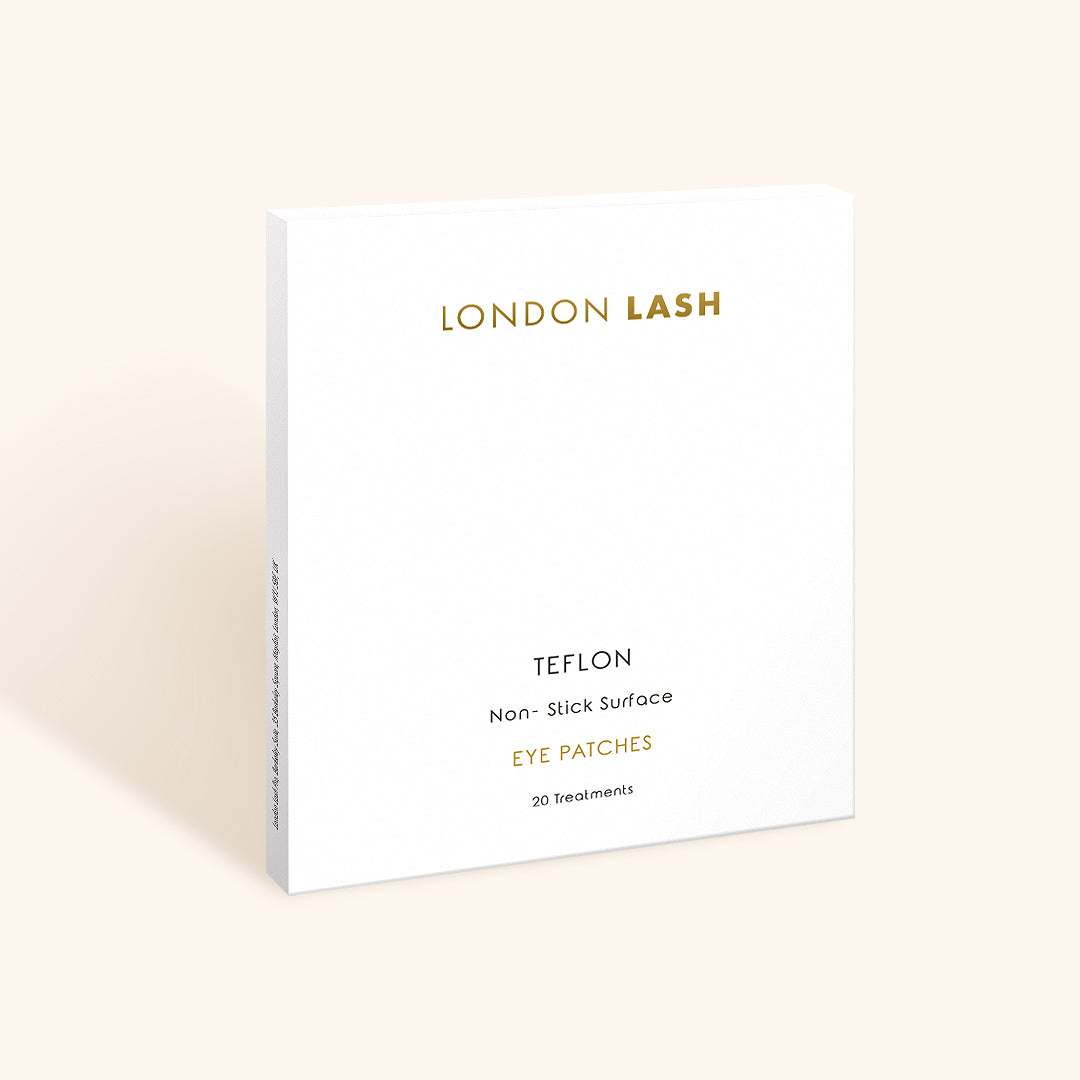
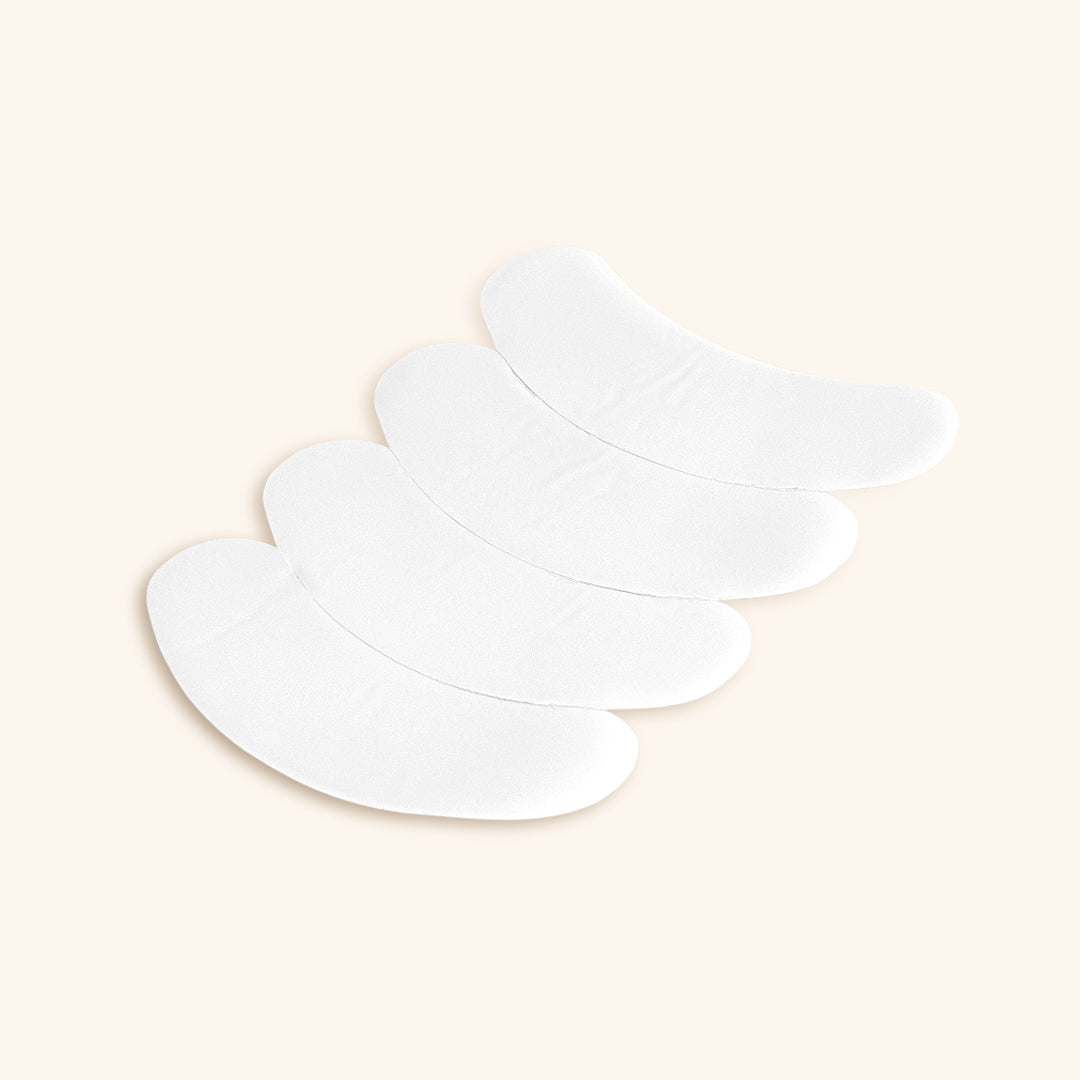
- Teflon eyepatches are small and feature a revolutionary non-stick top layer, making them a lifesaver when lashing clients with downward-growing lashes or smaller eyes. They are also useful for beginners who are more prone to stickies—lashes sticking together after application. Additionally, the specially formulated gel keeps them in place, making them suitable for clients with oily skin or deep-set eyes.
- Nano-Hydro Gel eyepatches are easy to place due to their ergonomic shape, even for beginner Lash Artists. Their thin gel strip allows the client’s eyes to remain completely closed, which helps reduce the risk of irritation from adhesive fumes. They also contain aloe vera extract for an additional spa-like feeling.

Tips & Tricks
You’re going to need to perfect your placement—choosing the right eyepatch is only one part of the challenge. Now you need to prepare and position it like a pro! Some clients have smaller or particularly round eyes, but learning how to cut and customise eyepatches will help you position them correctly on even the most challenging eye shapes.
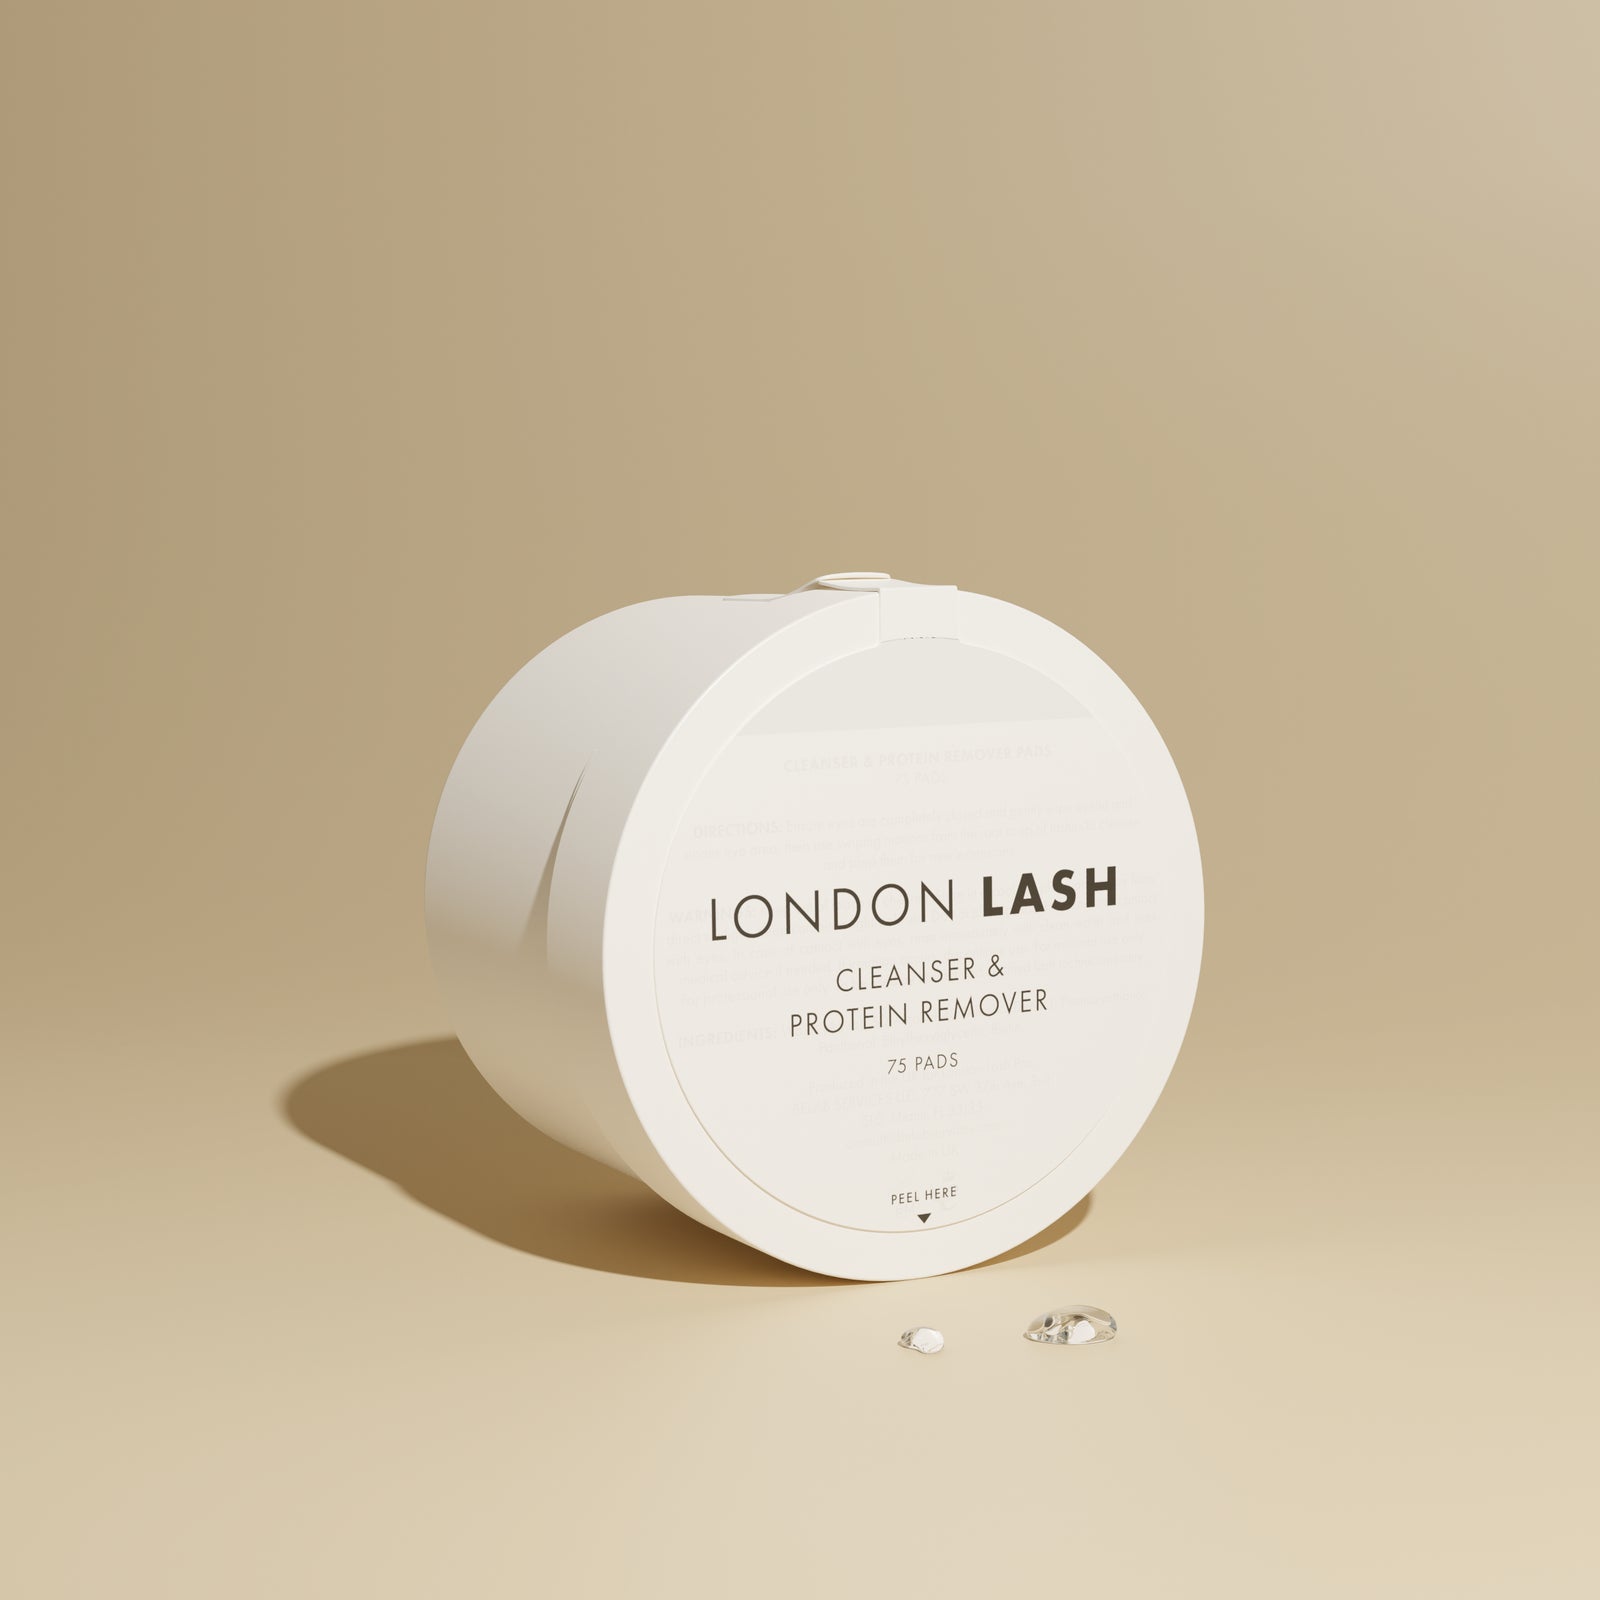
Before doing anything else, clean the skin with Protein Remover Pads and follow your regular pretreatment routine. Read about our ultimate pretreatment routine. Oily or makeup-covered skin will prevent the eyepatches from staying in place. Take a Protein Remover Pad, roll it over your finger and gently cleanse the under-eye area. Let the skin dry, then place the eye patches by following these simple steps:
- Start from the inner corners to ensure the eyepatch is not placed too close to or too far from the eye and nose.
- Follow the lash line and position the eyepatch around 1 mm below the waterline. Placing the eyepatch too high can cause eye irritation, which is uncomfortable for your client and may leave a red mark on the eye. The discomfort may also cause their eyes to twitch, making your job harder.
- Do not place the eyepatch too low, as this can allow the bottom lashes to escape from underneath it, making it easier for the extensions to stick to the lower lashes.
What Else Can Help?
- Lower the outer corner of the eyepatch to make it comfortable. This is easier to assess when the eyes are closed, as you may find that your client’s eyes pull the patch inwards. Gently pull back the top eyelid, lift the outer corner of the eyepatch and place it back down in a comfortable position.
- Use Surgical Tape if needed for baby lashes. This is easiest when the eyes are closed—gently pull back the top eyelid and tape down any stubborn baby lashes.
- Continue to check the eyepatches throughout the treatment to ensure your client is comfortable and that no baby lashes have escaped from underneath them.
Now, you may be saying, “LLP! Why not just use tape?” Of course you can, but keep in mind that tape has its own drawbacks as well as its advantages.
Pros:
- Easily adaptable to different eye shapes and sizes.
- A roll of tape provides more uses than a box of eyepatches.
- Clients are generally less likely to be allergic to tape, so it can be a useful alternative for someone who is sensitive to an ingredient in eyepatches.
Cons:
- Far less comfortable or luxurious than eyepatches.
- Can hurt when removed because it may pull on the lower lashes.
- More difficult to reposition than eyepatches.
- More difficult to draw a clear lash map on.
- More likely to leave marks on the skin.
- May be too thin to protect your client’s delicate skin from sharp tweezers.
To Recap
- Using the wrong size of eyepatches for the client—if the eyepatches do not fit, they will not be able to do their job properly.
- Placing the eyepatches too close to the eyes, causing irritation.
- Placing the eyepatches too far from the eyes, allowing the bottom lashes to escape.
- Placing them too high on the bridge of the nose. This can cause the eyepatches to cover the inner-corner lashes on the upper eyelid, making the patches lift and preventing you from completing the inner corners of the lash set.
- Placing them too far from the inner corners, leaving the lower inner-corner lashes uncovered and potentially causing stickies.
- Using too much pressure when applying the eyepatches or touching them too frequently during the treatment. This can cause them to move, expose the lower lashes and create discomfort for the client.
- Applying too much pressure to the eyepatches with your tweezers while lashing. This can move the patch, expose the lower lashes, disrupt your lash map and feel uncomfortable for the client.
- Failing to check the eyepatches during the treatment, which can lead to incorrect placement, irritation and stickies.
Check out these featured products