So Henna Brows: Step By Step Guide

Table of Contents
A Step-by-Step Guide to So Henna
So Henna eyebrows are one of the big up-and-coming trends in Europe's beauty industry. The semi-permanent eyebrow treatment is ideal for today's clients looking for a natural and painless alternative to traditional brow tint.
So Henna brow tint uses natural dyes from the henna plant to stain the skin under the brow hairs to create an illusion of depth and fullness, filling any sparseness. The tint coats the brow hairs with the desired colour rather than changing or permanently bleaching the natural brow hair, which some tints tend to do. This is a gentle process and is suitable for sensitive skin. The dye is easy to use and control and can match almost any skin colour and brow shape.
How Long Does So Henna Last?
So Henna brows are perfect for clients looking for something semi-permanent. They last from 2–4 weeks, but this does depend on the skin type and how well the aftercare process is followed. The brow shades can be customised by mixing So Henna Powders together and adjusting the time the henna is left on the brows.

Why So Henna?
So Henna is 100% vegan and cruelty-free. It is free from ammonia, lead and oxidants, but more importantly, henna contains lawsone dye, which is completely natural and stimulates healthy hair growth. So Henna ingredients follow import regulations and contain a low PPD percentage. You can rest assured that you are providing quality products with a professional industry standard.
Step 1: Pre-Treatment – Cleansing and Scrubbing

Using the versatile London Lash Foaming Cleanser and a Cleansing Brush, gently clean the brows, making sure there is no leftover makeup, oil or dirt on or around the eyebrows. Wipe away the excess and dry the area with a tissue. A gentle facial scrub on the brows will remove the dead and dry layer of skin to prepare the area for the tint. Remove the leftover scrub with a wet cotton pad and pat dry.
Step 2: Colour Selection and Mixing

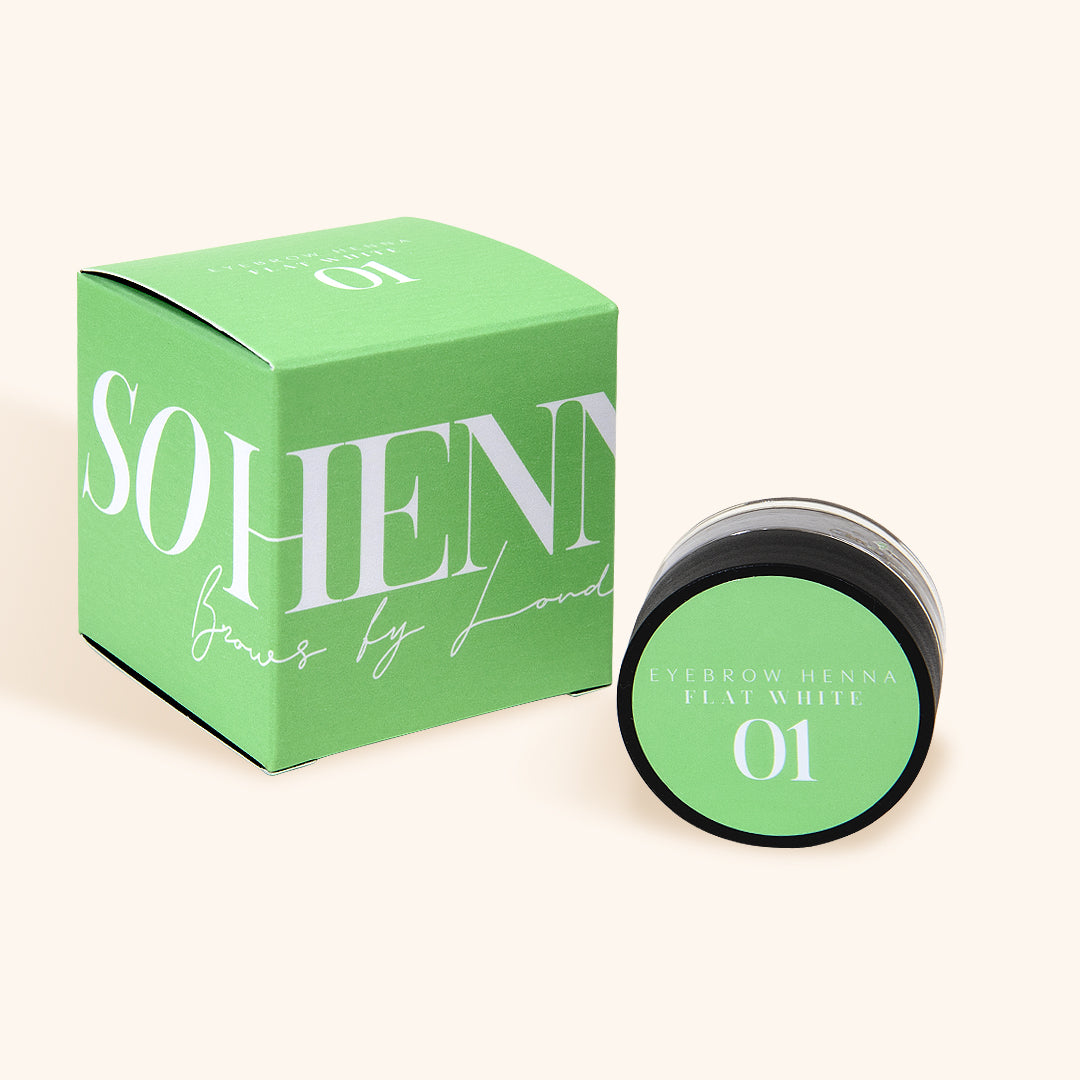
Choose the ideal shade to suit your client. Remember that you can mix shades to personalise the colour for each individual client. Once you have both agreed on a suitable shade, mix lukewarm distilled water and So Henna powder in a 1:1 ratio. The amount of powder depends on the shade you want to achieve—the more powder you use, the more intense the colour will be.
The wide range of shades offered by So Henna is excellent for a variety of clients. Each shade is versatile in its intensity and perfectly compatible with other shades in the So Henna range, allowing you to create the desired result.
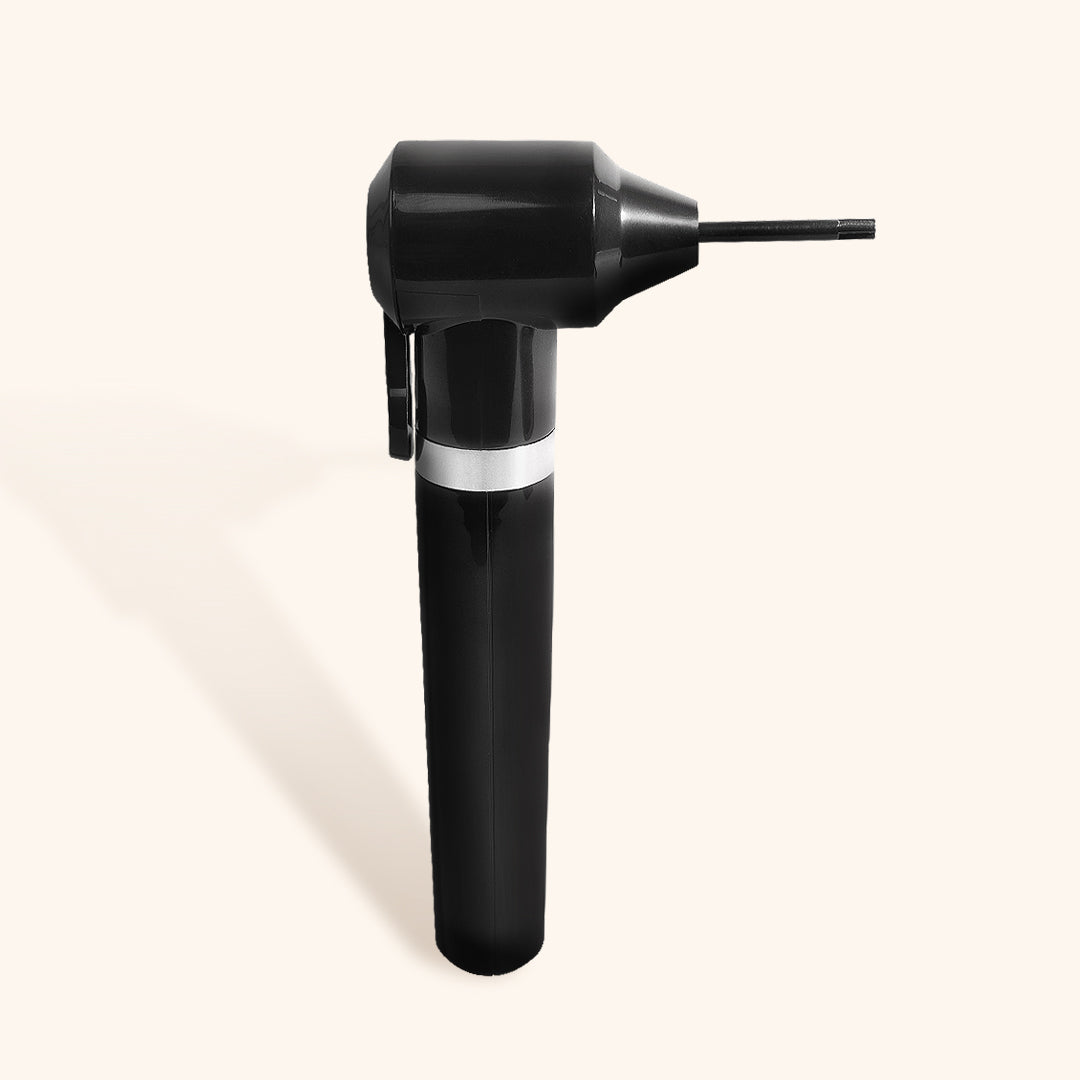
Mixing henna powder has never been easier with our Mixer Tool. It breaks down the powder and water to create a smooth paste. You can learn more about mixing brow henna powder to the perfect consistency in our dedicated mixing guide.
Tip: A thicker consistency will result in a darker look and longer-lasting colour. A thinner consistency creates a lighter result and may fade more quickly depending on the client’s skin type, but it will be easier to apply and control.
Step 3: Application

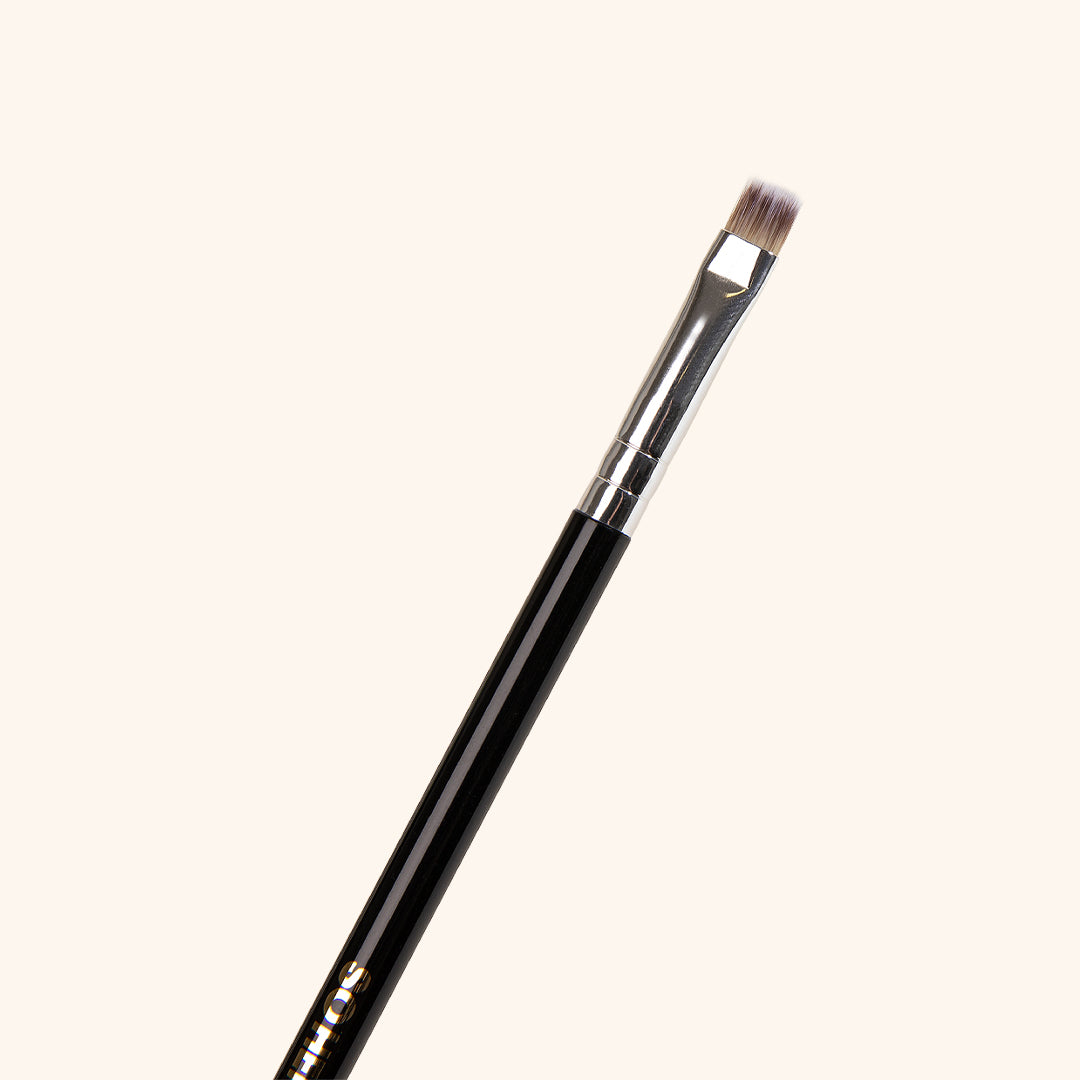
Using a So Henna Angled Brush, apply a thick and even layer across the eyebrows. Press and tap the henna tint lightly into the eyebrow until the area you mapped is covered. Brushing the brow henna may leave streaks, so using a patting technique helps create even and full-looking eyebrows.
Step 4: Drying
Leave the henna on the eyebrows for 10–20 minutes, depending on the desired staining result. A light stain can be achieved within several minutes, while leaving the henna on for longer will create a darker stain. Make sure you discuss the desired intensity and depth of colour with your client before application.
Step 5: Removal

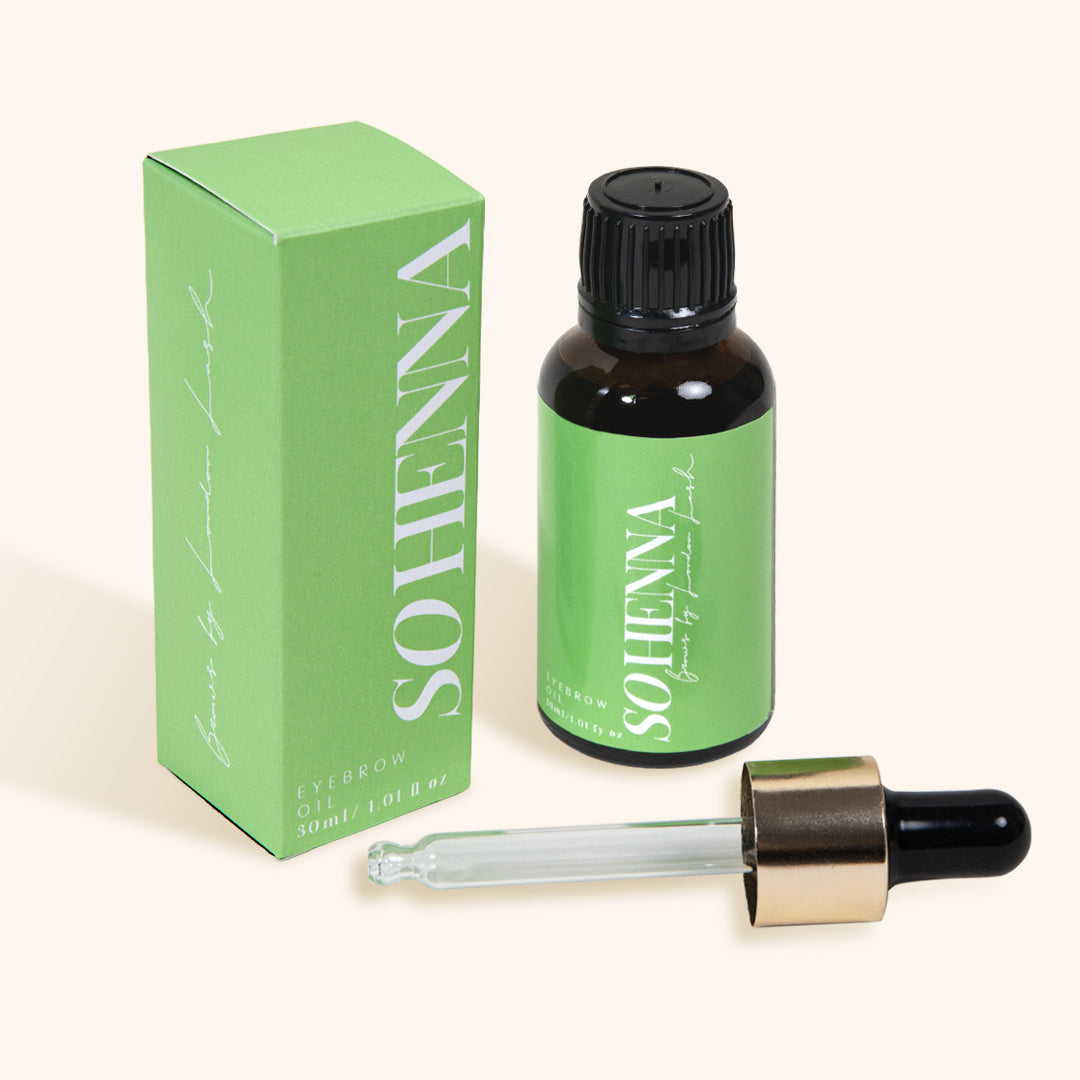
Once you are ready to remove the semi-permanent stain, use a damp cotton pad with a touch of So Henna Brow Oil. Start at the head of the eyebrow and work backwards. Remember to do this gently without rubbing the skin excessively.
If your client has any stray hairs that need to be removed to create the desired brow shape, use So Henna Gentle Brow Wax. Do this after the henna treatment, as you do not want exposed pores or damaged skin to come into contact with the henna powder.
Aftercare

Apply a little So Henna Brow Oil once more to condition the brows and promote brow health. Once you have completed the treatment, give your client the following instructions to help maintain their new eyebrow look. For 24 hours after the treatment, clients should avoid:
- Touching the area. After facial scrubbing or waxing, the pores may be open and more vulnerable to irritation or infection if the area is not kept clean.
- Using saunas, hot tubs, swimming pools, sunbeds or steam rooms.
- Using perfumed products such as cleansers or facial soaps around the treated area.
- Applying makeup to the area, as this may cause irritation or infection. To cover redness caused by hair removal, suggest mineral powder rather than heavy liquid concealers.
Check out these featured products